Jan 16, 2020 Filmora Video Editor for Windows (or Filmora Video Editor for Mac) is the highly recomended movie maker for Mac and Windows users. You can create your own movie with advanced video editing tools and apply tunning effects to video, including filters, motion graphic, green screen, split screen, texts, transitions, and more.
- Jan 07, 2019 Open the QuickTime Player app on your Mac. Most Mac computers come bundled with QuickTime Player 10 installed. It looks like a blue “Q” logo in your Applications folder. If you can’t find QuickTime Player in Applications, click on the magnifying glass icon in the upper-right corner of your screen, and then type QuickTime. It will show up at the top of the list.
- Feb 05, 2020 With a fully customizable user interface, Lightworks is one of the top Windows Movie Maker alternatives for those looking to do video editing on a Mac or Linux OS, or even on a PC if you just want something a little different.
Use Shift-Command-5
If you're using macOS Mojave or later, press Shift-Command (⌘)-5 on your keyboard to see onscreen controls for recording the entire screen, recording a selected portion of the screen, or capturing a still image of your screen. You can also record the screen with QuickTime Player instead.
Jun 25, 2020 Best webcams for remote-working video calls in 2020: Logitech, Meeting Owl, Razer, and more Zoom has been making headlines in recent weeks, as millions of people turn to video-conferencing apps to. Logitech Capture makes creating content with your webcam easy, fast, and intuitive. Download for Windows 10 (64 bit) DOWNLOAD BETA FOR MAC Download for Windows VIEW SYSTEM REQUIREMENTS. Jul 31, 2017 Logitech Webcam Software lets you capture your own photos and videos (720p/1080p mode with some cameras), adjust your camera settings, activate motion detection, and use face-tracking with your. Current mac logitech webcam app.
Record the entire screen
- Click in the onscreen controls. Your pointer changes to a camera .
- Click any screen to start recording that screen, or click Record in the onscreen controls.
- To stop recording, click in the menu bar. Or press Command-Control-Esc (Escape).
- Use the thumbnail to trim, share, save, or take other actions.
Record a selected portion of the screen

- Click in the onscreen controls.
- Drag to select an area of the screen to record. To move the entire selection, drag from within the selection.
- To start recording, click Record in the onscreen controls.
- To stop recording, click in the menu bar. Or press Command-Control-Esc (Escape).
- Use the thumbnail to trim, share, save, or take other actions.
Trim, share, and save
Apps To Make Movies On Mac Download
After you stop recording, a thumbnail of the video appears briefly in the lower-right corner of your screen.
Dec 16, 2011 Hercules rmx mac software/drivers; metalstuff 6 Messages Posted on 12/16/11 at 22:05:14: 0. A USB hub with a power adapter is highly recommended as, if the installation crash, you may break your DJ Console Rmx with no way to restore it via a USB update, and the USB hub with a power adapter is a good security to avoid this crash. Device drivers allow the hardware device (DJ Mixer) to communicate clearly with your operating system. Hercules has written these unique, 'mini' software programs for the DJ Console Rmx to operate properly. The following hardware are compatible in macOS 10.14 Mojave with Hercules drivers DJSeriesInstall 5.99s and later: - Deejay Trim 4-6 - DJ Console Mk2 - DJ Console Mk4 - DJ Console Rmx - DJ. 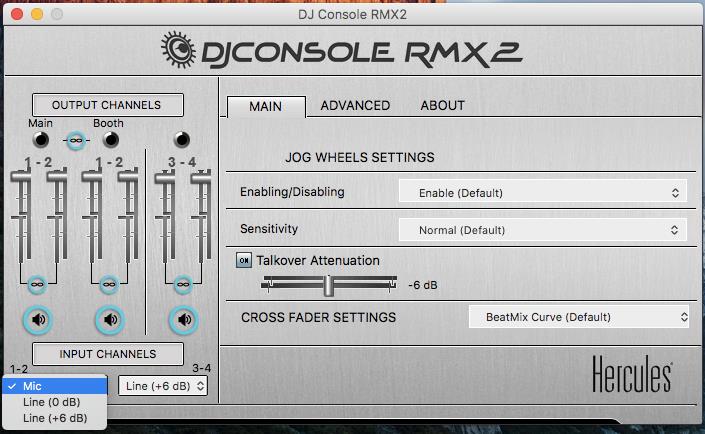 Traktor Hercules DJ Console Edition - update 1.0.1.031: MAC: OSX 10.2 - OSX 10.3 - OSX 10.4. My DJ Console Rmx or DJ Console 4-Mx or DJ 4Set, which used to work in Mac OS 10.10 or earlier, is not detected on my MacBook with Mac OS 10.11 (El Capitan) or 10.12 (Sierra).
- Take no action or swipe the thumbnail to the right and the recording is automatically saved.
- Click the thumbnail to open the recording. You can then click to trim the recording, or click to share it.
- Drag the thumbnail to move the recording to another location, such as to a document, an email, a Finder window, or the Trash.
- Control-click the thumbnail for more options. For example, you can change the save location, open the recording in an app, or delete the recording without saving it.
Change the settings
Click Options in the onscreen controls to change these settings:
- Save to: Choose where your recordings are automatically saved, such as Desktop, Documents, or Clipboard.
- Timer: Choose when to begin recording: immediately, 5 seconds, or 10 seconds after you click to record.
- Microphone: To record your voice or other audio along with your recording, choose a microphone.
- Show Floating Thumbnail: Choose whether to show the thumbnail.
- Remember Last Selection: Choose whether to default to the selections you made the last time you used this tool.
- Show Mouse Clicks: Choose whether to show a black circle around your pointer when you click in the recording.
Apps To Make Movies On Mac 2017
Use QuickTime Player
Best Movie App For Mac
- Open QuickTime Player from your Applications folder, then choose File > New Screen Recording from the menu bar. You will then see either the onscreen controls described above or the Screen Recording window described in the following steps.
- Before starting your recording, you can click the arrow next to to change the recording settings:
- To record your voice or other audio with the screen recording, choose a microphone. To monitor that audio during recording, adjust the volume slider (if you get audio feedback, lower the volume or use headphones with a microphone).
- To show a black circle around your pointer when you click, choose Show Mouse Clicks in Recording.
- To record your voice or other audio with the screen recording, choose a microphone. To monitor that audio during recording, adjust the volume slider (if you get audio feedback, lower the volume or use headphones with a microphone).
- To start recording, click and then take one of these actions:
- Click anywhere on the screen to begin recording the entire screen.
- Or drag to select an area to record, then click Start Recording within that area.
- To stop recording, click in the menu bar, or press Command-Control-Esc (Escape).
- After you stop recording, QuickTime Player automatically opens the recording. You can now play, edit, or share the recording.
Learn more
- When saving your recording automatically, your Mac uses the name ”Screen Recording date at time.mov”.
- To cancel making a recording, press the Esc key before clicking to record.
- You can open screen recordings with QuickTime Player, iMovie, and other apps that can edit or view videos.
- Some apps, such as DVD Player, might not let you record their windows.
- Learn how to record the screen on your iPhone, iPad, or iPod touch.